Just to prove I don’t know everything, I was out visiting a client and I saw them using a Windows Snipping Tool to grab a screenshot of something. I have always used “Print Screen” which grabs everything, then opened an image editor to crop the resultant image to what I need. Probably because I have upgraded from XP to Windows 7, then to 10.
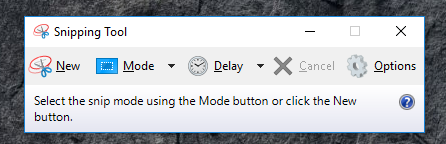
It might not be immediately apparent where it is in Windows 10, as in my experience it never revealed itself without any help.
Why it is useful for web development
The biggest problem is people loading large images into websites. Much larger than can be actually displayed in the website. It slows the sites down, and mobile users pay for the additional bandwidth with no tangible benefit.
If you display your image on your screen, then open the Snipping tool, you can take a scaled image at broadly the right sort of size straight from your screen, and not need to worry about scaling it. It is certainly more effective than uploading a 4MB image where a 150kB image should have been.
How do I get it on my system
It is already on your system if you are running Windows 10. But it may not be immediately obvious where it is located. Here is what you need to do:
Open the Start Menu, go to Windows Accessories and open this group up and look for Snipping Tool. When you have located it, right click on it and pin it to the Start Menu.

Once you have the Snipping Tool in the top of your Start Menu, you can also pin it to the Task Bar so it is always to hand. Like on a Mac, I have many of the regularly used Apps on my taskbar.
To create a shortcut for any application on your start menu so that it appears on your Task Bar. Open the Start Menu, locate the Application shortcut you wish to add to your taskbar, right click on it. Choose More… and Add to Taskbar. Very easy, and very quick.
Here is my taskbar in Windows 10, the Snipping Tool is on the far right:
