I frequently find that people have uploaded images from their phones and cameras directly into the image library and then added them to a page. What they have forgotten to do is optimise the image for the browser screen.
If I look at my camera, it takes image which are 5700px wide x 3800 px high and 10MB in size.
My monitor screen is a little higher definition than HD, so these images are too large for my browser, and if viewed on a phone which may be 700 pixels wide or less they are huge by comparison.
For most users these days, they view websites on mobile devices and may not be doing this over WiFi, so if they are downloading your web page from a 4G or 3G network, it is costing them money.
As a general guide your images need to be no bigger than 150kB in memory size, and no larger than the largest screen you are likely to come across. Today that is around 1200px for the web content space for most sites. Many of the sites I have built, the content area is no wider than 1080px.
Fixing the problem in WordPress
The following brief tutorial shows you how to upload an oversize image to WordPress (by accident), then reduce the size in WordPress and use it in a page. You do not need to prepare your files outside of WordPress in this case, but as you will see at the end of this tutorial, it is preferable to do this outside of WordPress to prevent your backups from becoming huge.
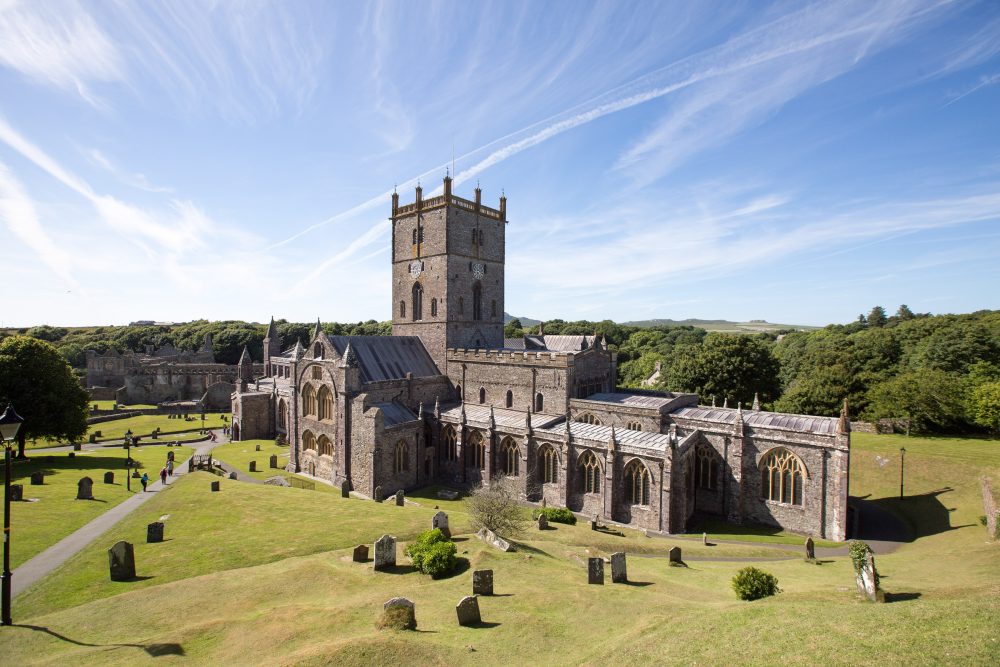
I am going to start by uploading a very large image of St David’s Cathedral in Wales into WordPress. This is an image straight off of my camera.
Here is the large version:
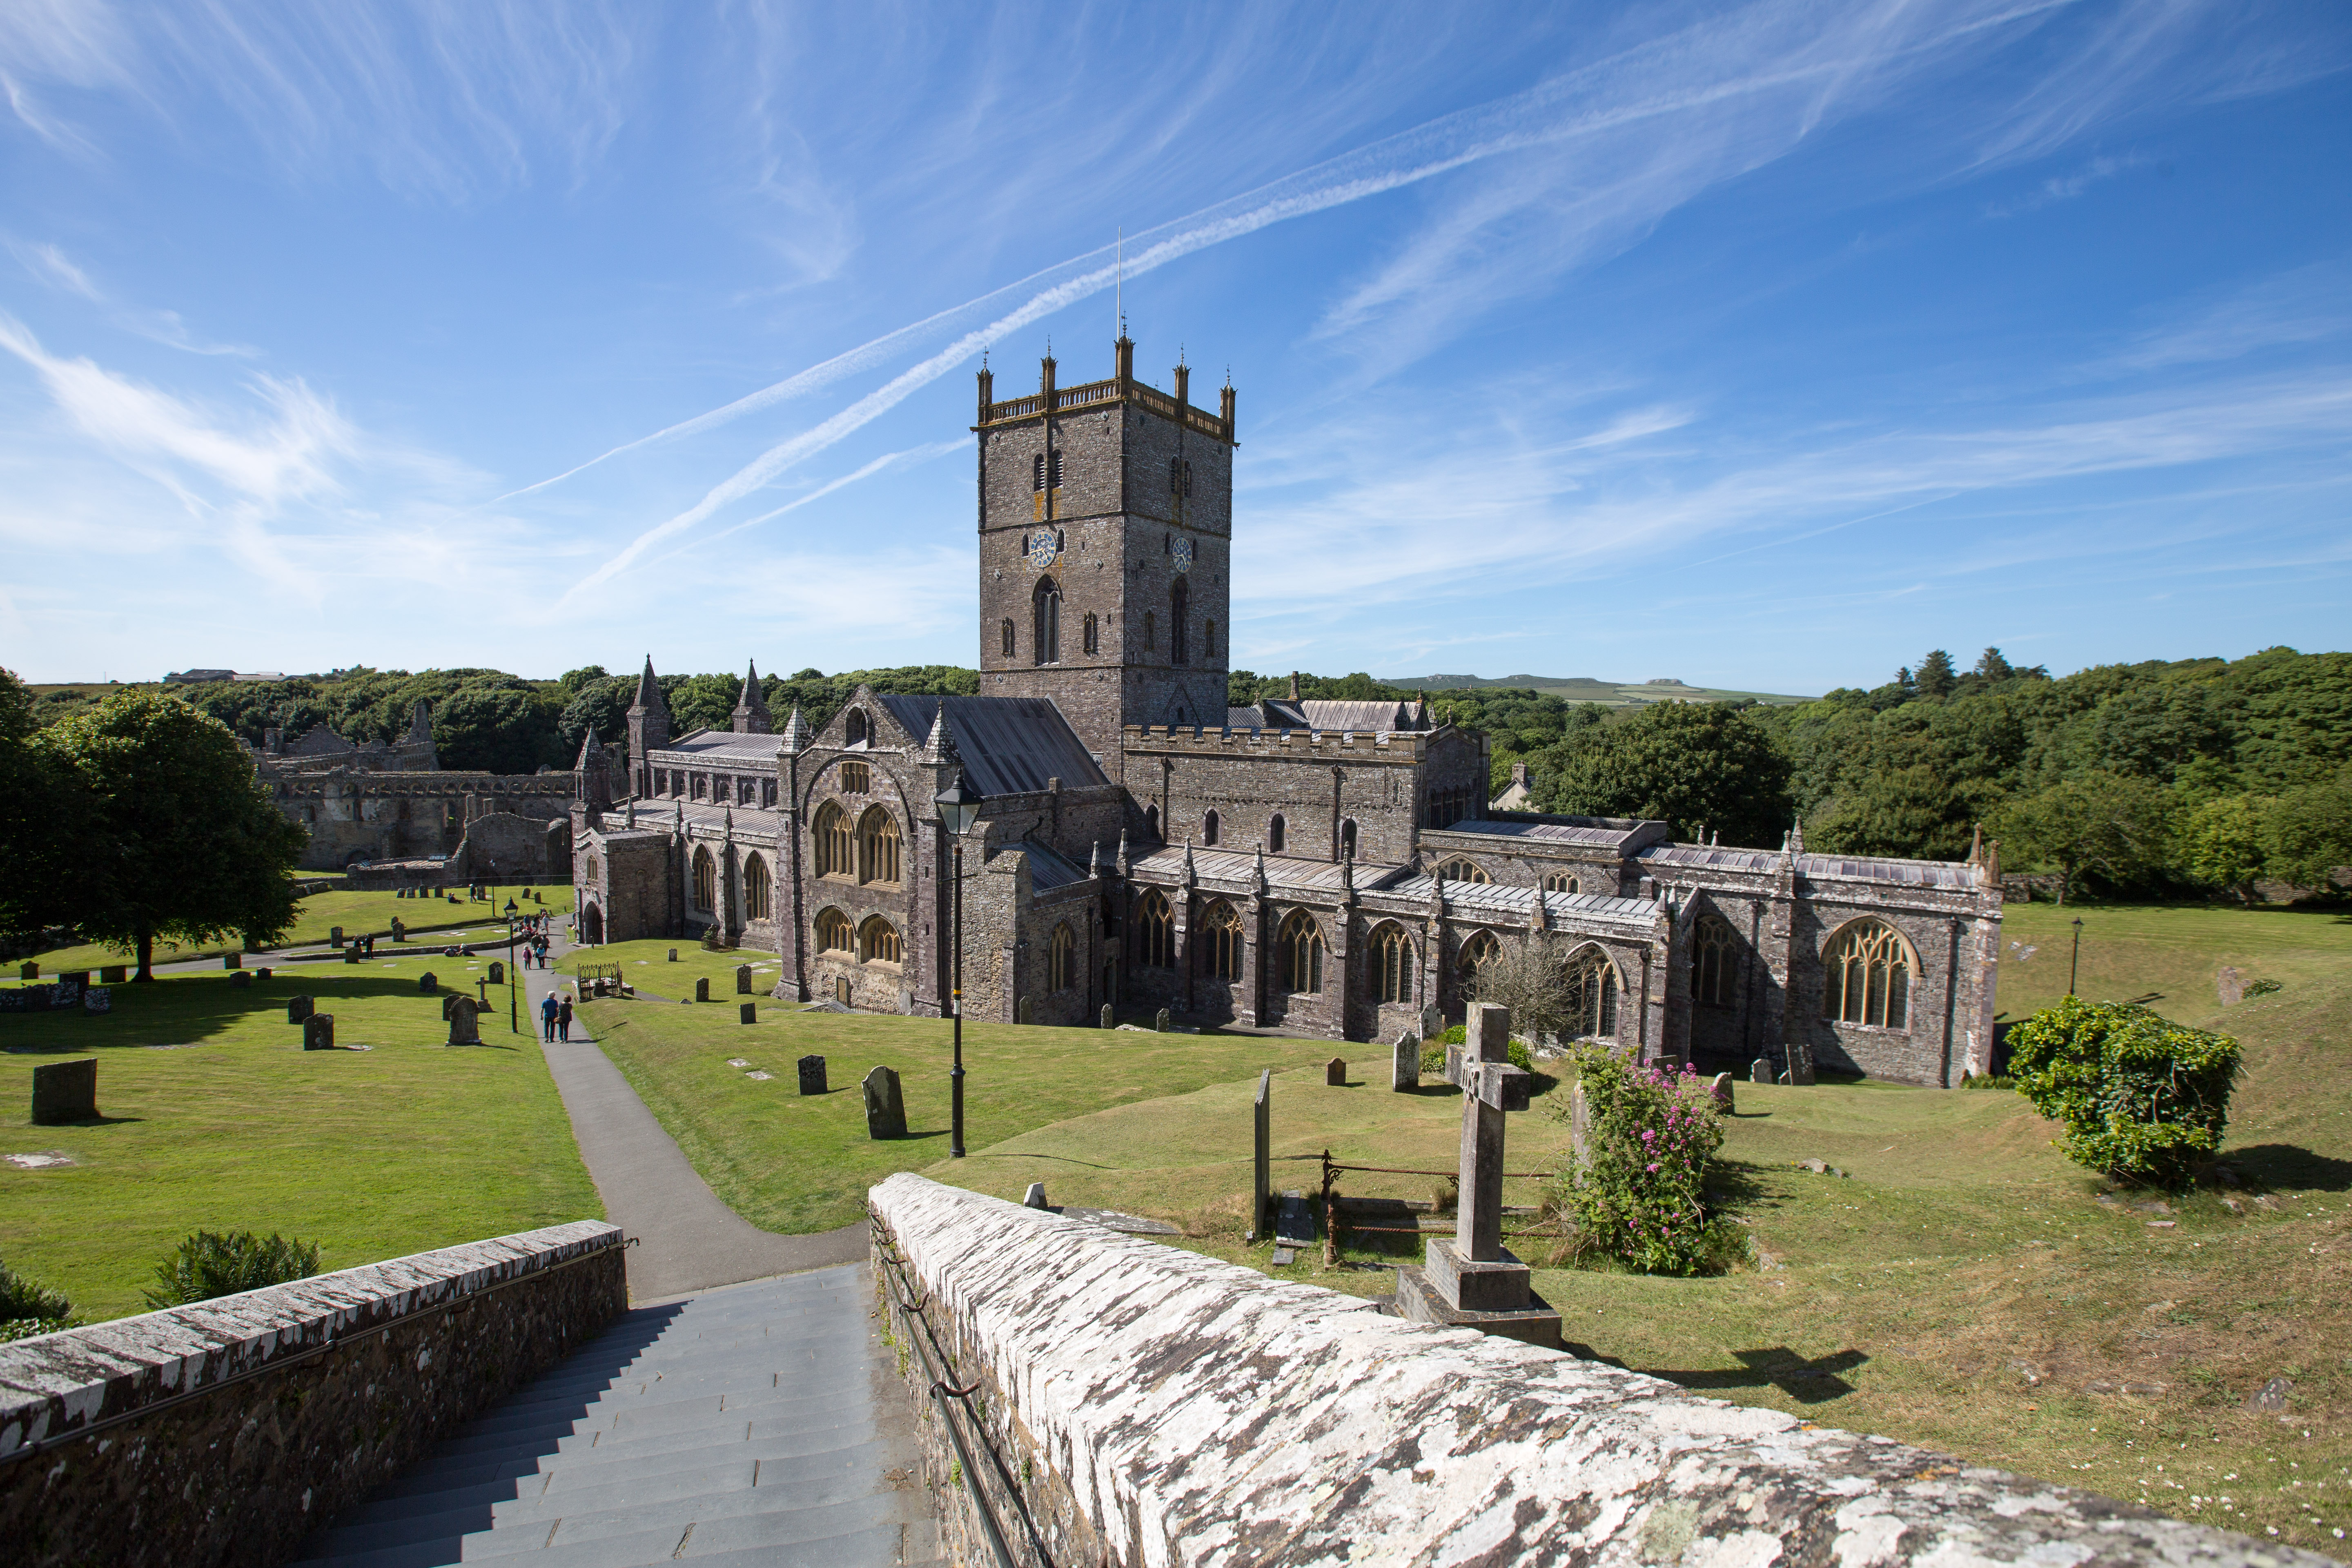
While it may not be apparent to you this image is >5MB in size even though it looks small. You can click on it to see it much larger in this case.
The image is 5760px x 3840. If you have a slow internet connection you will have seen this image appear very slowly.
I have uploaded a second version of the same scene. You can see the details below. If I then go to the media library and open it, this is what I get on my screen. However note the following: Image size is 5MB, dimensions are 5760 x 3840.
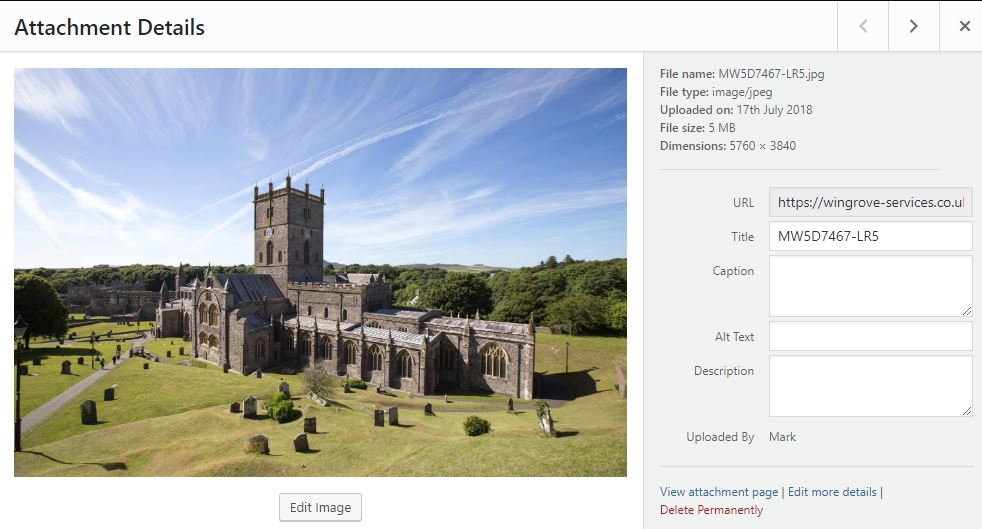
If I click on Edit image I can change the size of the image in the boxes next to where it says Scale. I only need to enter one of the parameters, the other one will be added automatically.
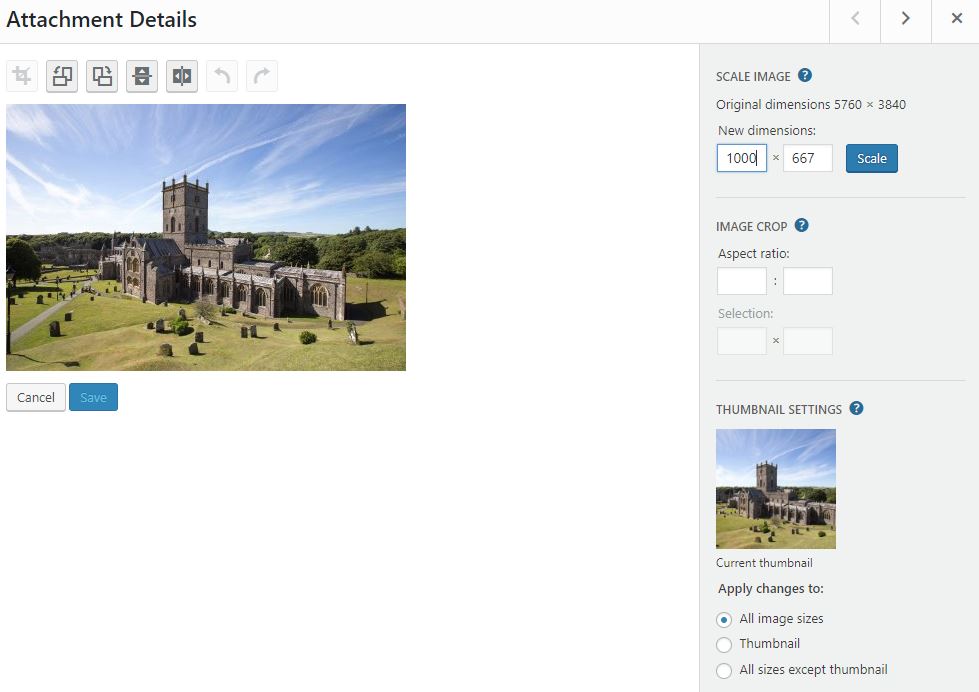
I have changed the value of the X dimension parameter to 1000 pixels wide, it changes the Y dimension automatically to 667. Then click on scale.
After it has finished scaling the image. Close the screen and go back to the image library and open the image up to see what has happened. 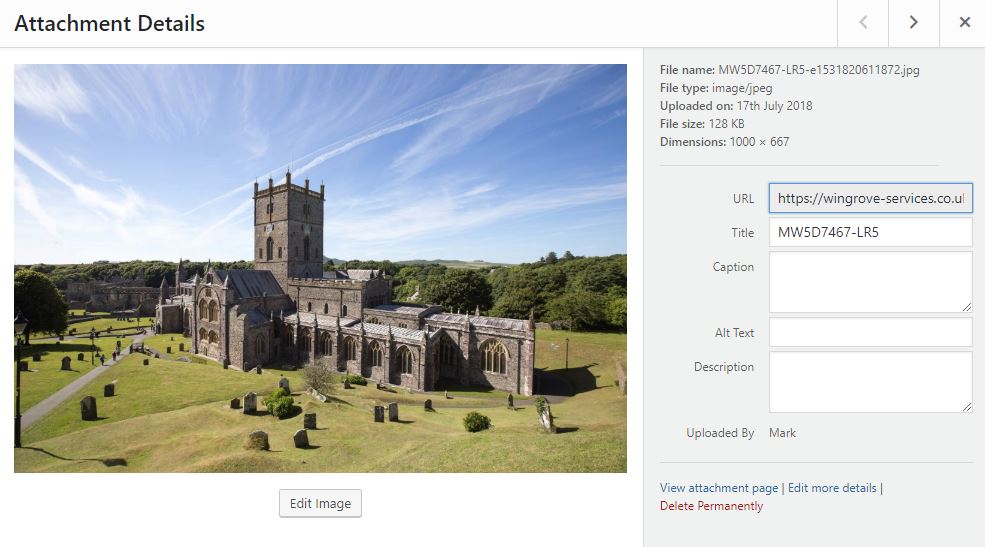
Here you can see that the image is now 1000 px x 667 px and 128kB in size. This is a much better size to place on a website. Nearly 40 times smaller than the original. Here is the smaller version displayed below. You cannot tell the difference when it is displayed in the content area of your website.
But there is one downside to this.
If I look in the hosting to see what has happened, I have my original image still in the hosting, and several variants in different sizes as well.
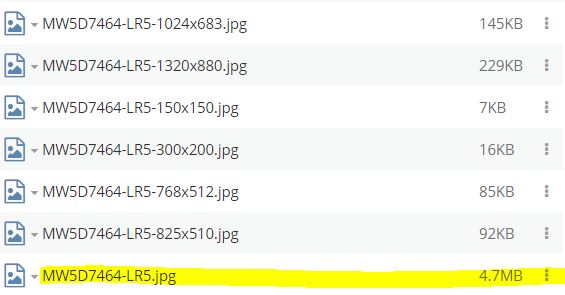
WordPress if left to the default settings will create multiple versions of an image. You can also see from this exercise that the original image is also still there. So the process never removed it, even though we can no longer access the full size image through the media library.
It is a much better idea to scale your images down in physical as well as memory size before uploading them. While we have fixed the display problem for users, the backup of the site is now much larger than it needs to be. This is of course only one file. However sites often have 100’s of images on them, so it can run to several hundred megabytes of images where it could have been done in under 30MB.